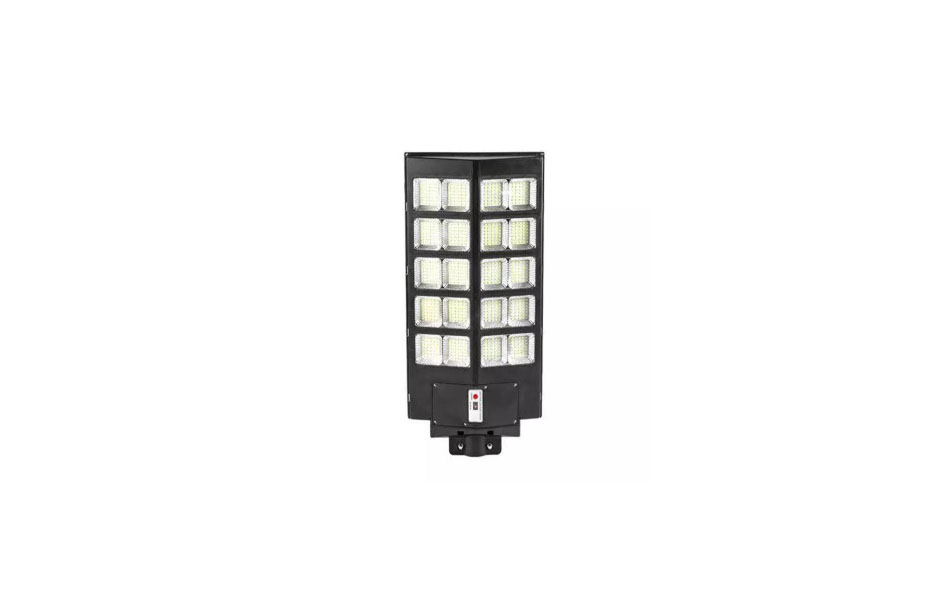
**Table of Contents:**
1. Introduction
2. Benefits of Solar All-in-One Street Lights
3. Choosing the Right Location
4. Preparing the Installation Site
5. Installing the Pole
6. Mounting the Solar Panel
7. Attaching the Light Fixture
8. Connecting the Components
9. Testing and Maintenance
10. FAQs
**Introduction**
Welcome to our comprehensive guide on installing solar all-in-one street lights. In this article, we will walk you through the step-by-step process of setting up these energy-efficient lighting solutions. Let’s get started!
**Benefits of Solar All-in-One Street Lights**
Solar all-in-one street lights offer numerous benefits, including energy savings, reduced carbon footprint, and minimal maintenance requirements. These eco-friendly lighting solutions are perfect for illuminating outdoor spaces while conserving energy.
**Choosing the Right Location**
The first step in installing solar all-in-one street lights is selecting the ideal location. Ensure the chosen spot receives ample sunlight throughout the day to maximize solar energy absorption. Additionally, consider factors such as visibility and safety when determining the placement of the lights.
**Preparing the Installation Site**
Before beginning the installation process, clear the installation site of any debris or obstacles. This will ensure a smooth and efficient setup of the solar all-in-one street lights. Take the time to level the ground and make any necessary adjustments for optimal performance.
**Installing the Pole**
Next, install the pole for mounting the solar panel and light fixture. Secure the pole firmly in place using the appropriate tools and equipment. Ensure the pole is positioned at the desired height for effective illumination of the area.
**Mounting the Solar Panel**
Once the pole is in place, mount the solar panel on top. Angle the solar panel towards the sun to capture as much sunlight as possible. Ensure the panel is securely attached to the pole to prevent any movement or damage.
**Attaching the Light Fixture**
After securing the solar panel, attach the light fixture to the pole. Position the fixture at the desired angle for optimal lighting coverage. Double-check all connections and fasteners to ensure a secure installation.
**Connecting the Components**
With the solar panel and light fixture in place, it’s time to connect the components. Follow the manufacturer’s instructions for wiring the solar panel, battery, and light fixture. Test the connections to ensure everything is functioning properly before finalizing the installation.
**Testing and Maintenance**
Once the solar all-in-one street lights are installed, test the system to ensure it is operating correctly. Regular maintenance, such as cleaning the solar panel and checking for any damage, will help extend the lifespan of the lights. Stay proactive in monitoring the performance of the lights to ensure continued functionality.
**FAQs**
1. How long do solar all-in-one street lights last?
2. What are the key components of a solar all-in-one street light?
3. Can solar all-in-one street lights be installed in any location?
4. How do I troubleshoot common issues with solar street lights?
5. Are solar all-in-one street lights cost-effective in the long run?
**Conclusion**
In conclusion, installing solar all-in-one street lights is a rewarding and environmentally-friendly endeavor. By following this step-by-step guide, you can efficiently set up these energy-efficient lighting solutions and enjoy the many benefits they offer. Illuminate your outdoor spaces with sustainable solar power and contribute to a greener future.
